Photogrammetry is defined as a scientific and technical discipline which determines shape, sizes, position and other characteristics of objects from their photo images.
Previously, this technology was commonly used in geology and topography. It has become more popular in other spheres (i.e. film industry, game industry, virtual archeology, etc.) due to its affordability based on the increasing of working capacity of the computers.
The whole process of photogrammetry goes through several stages:
- Hardware and software selection;
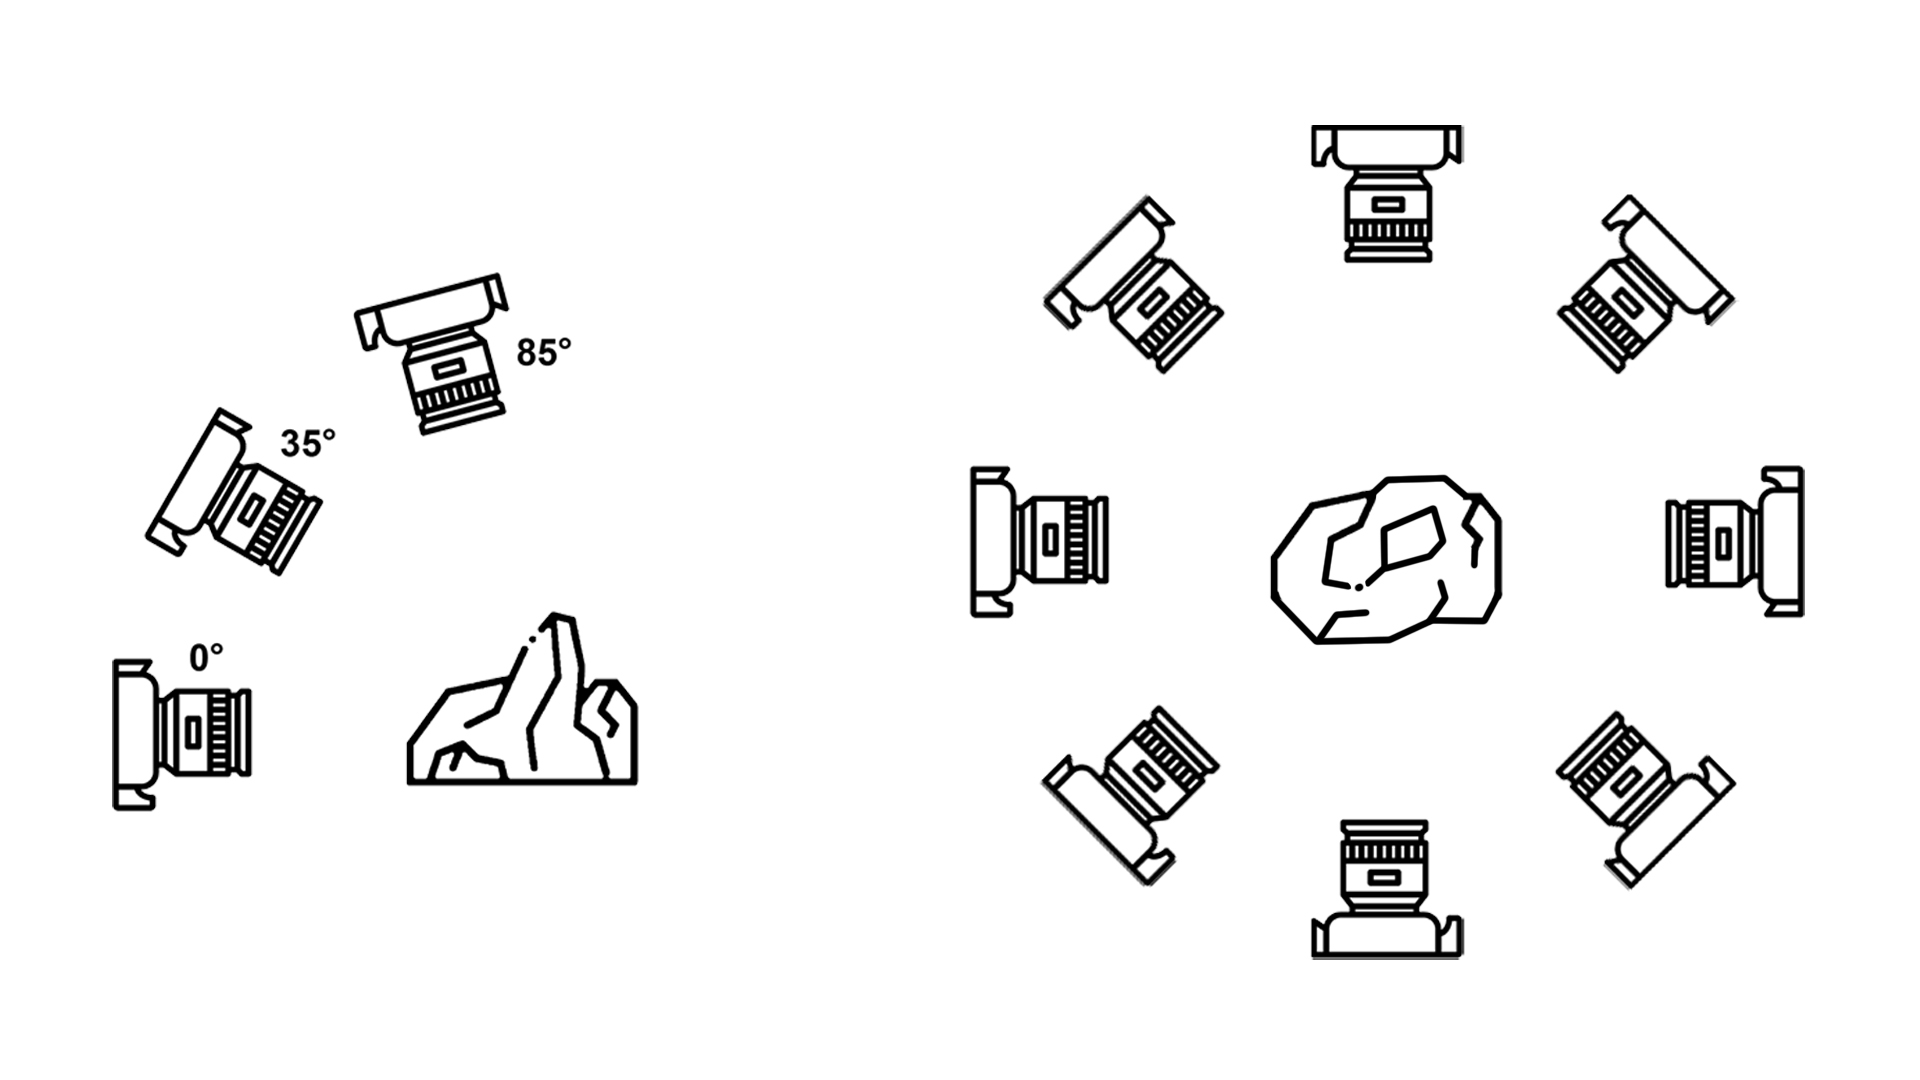
- Photographing of the object;
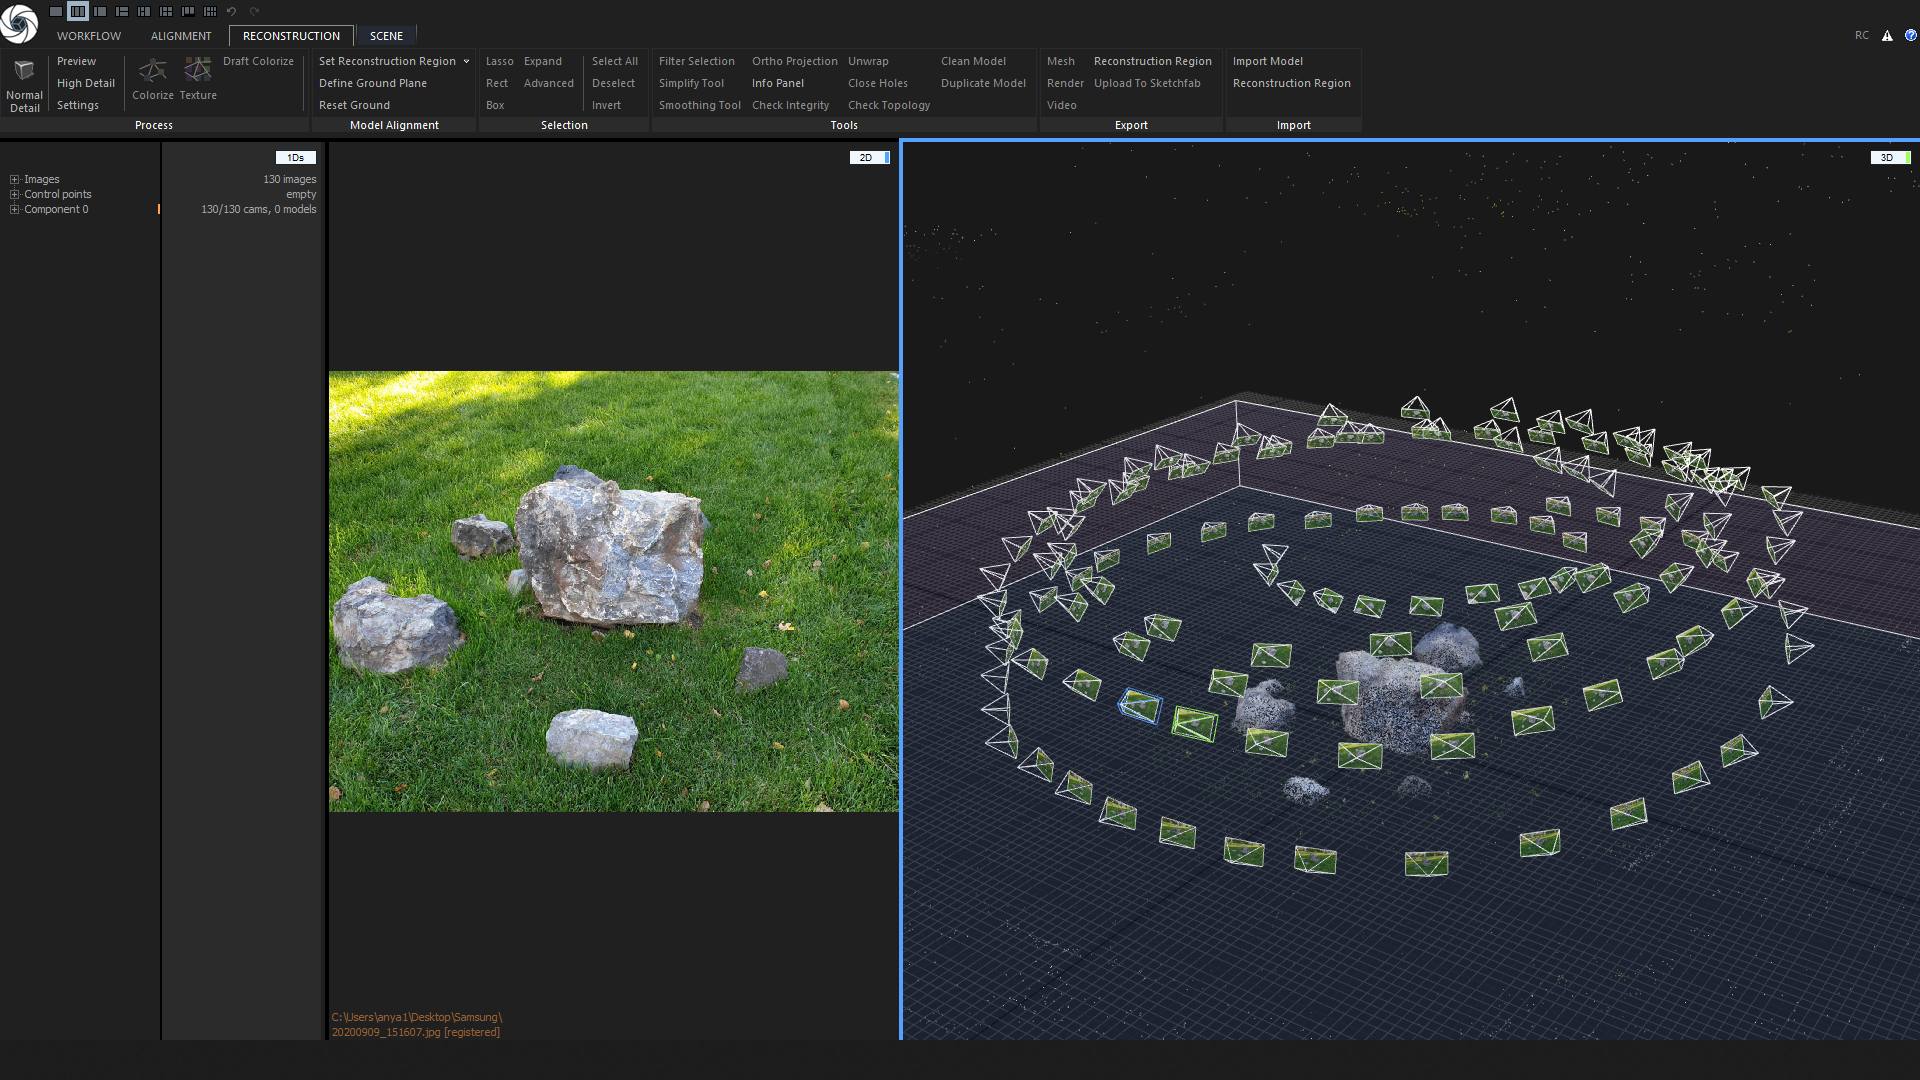
- Image processing (when necessary);
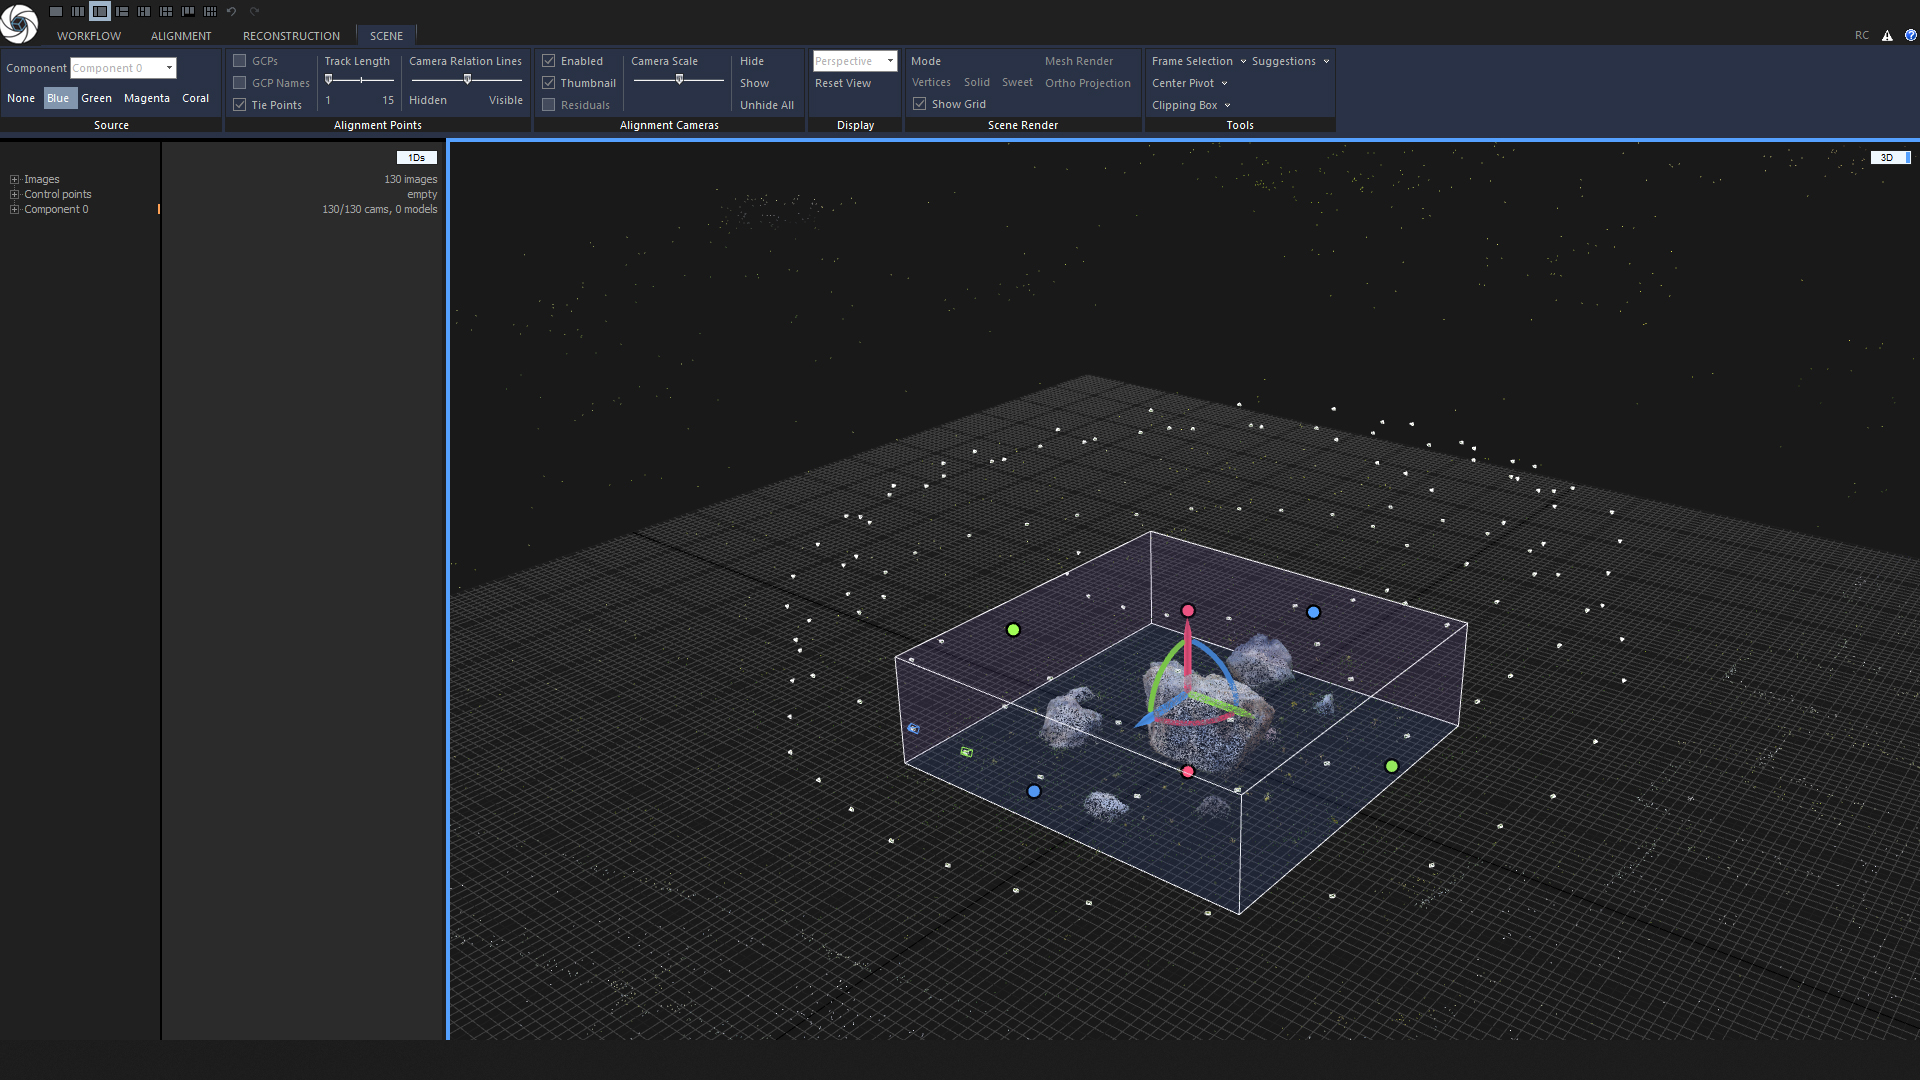
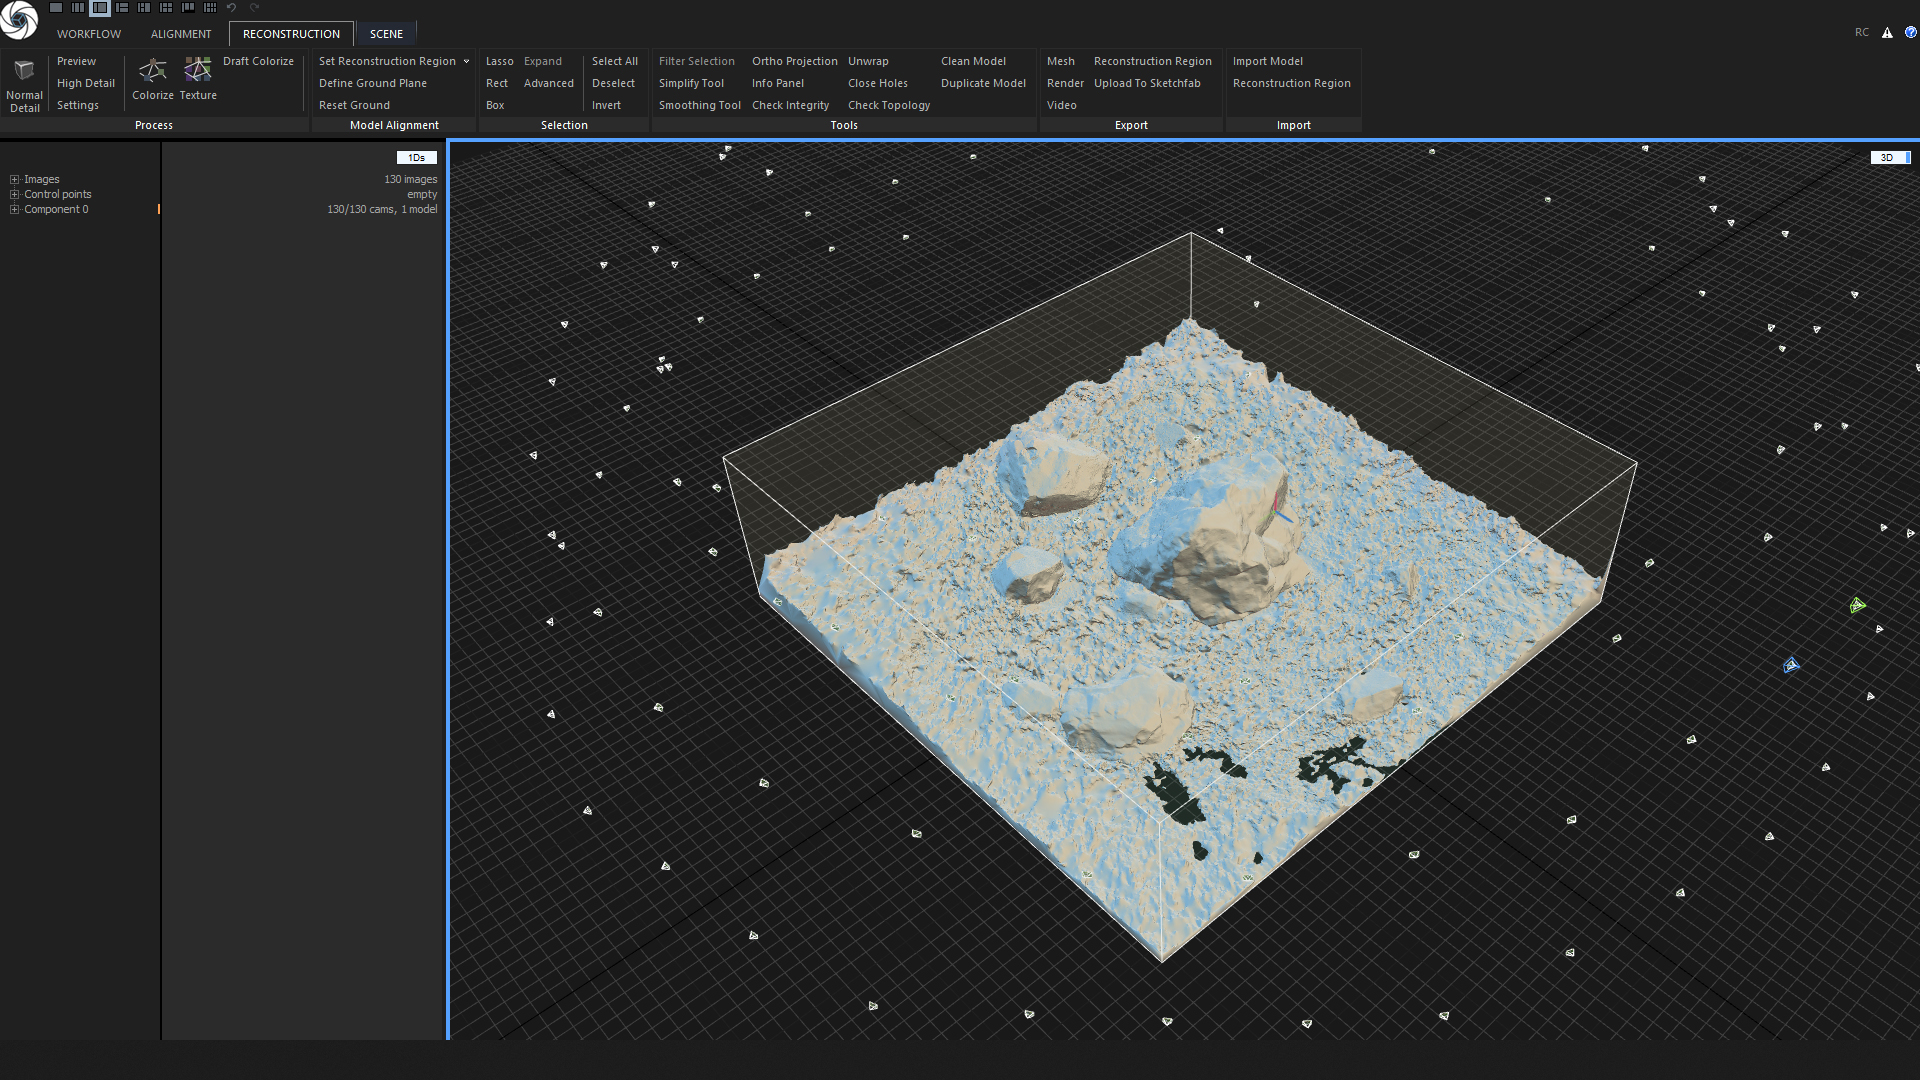
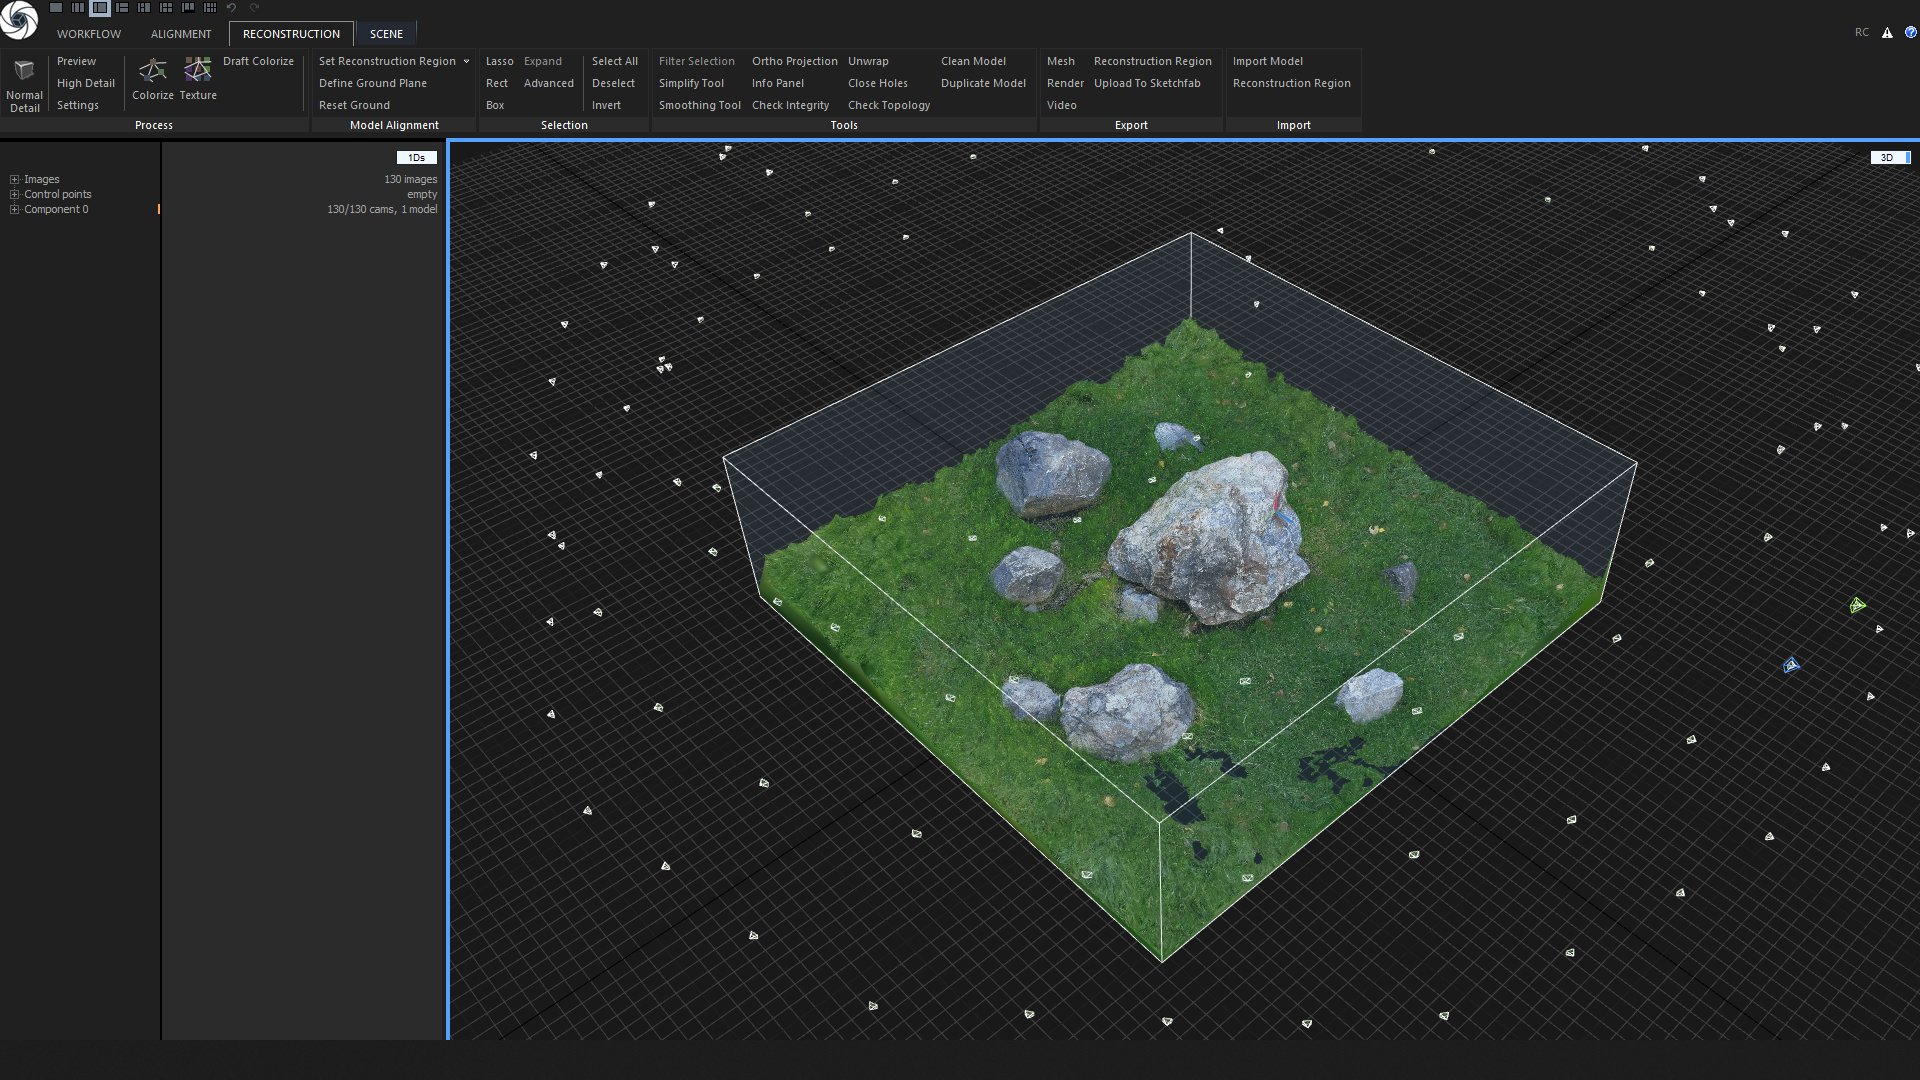
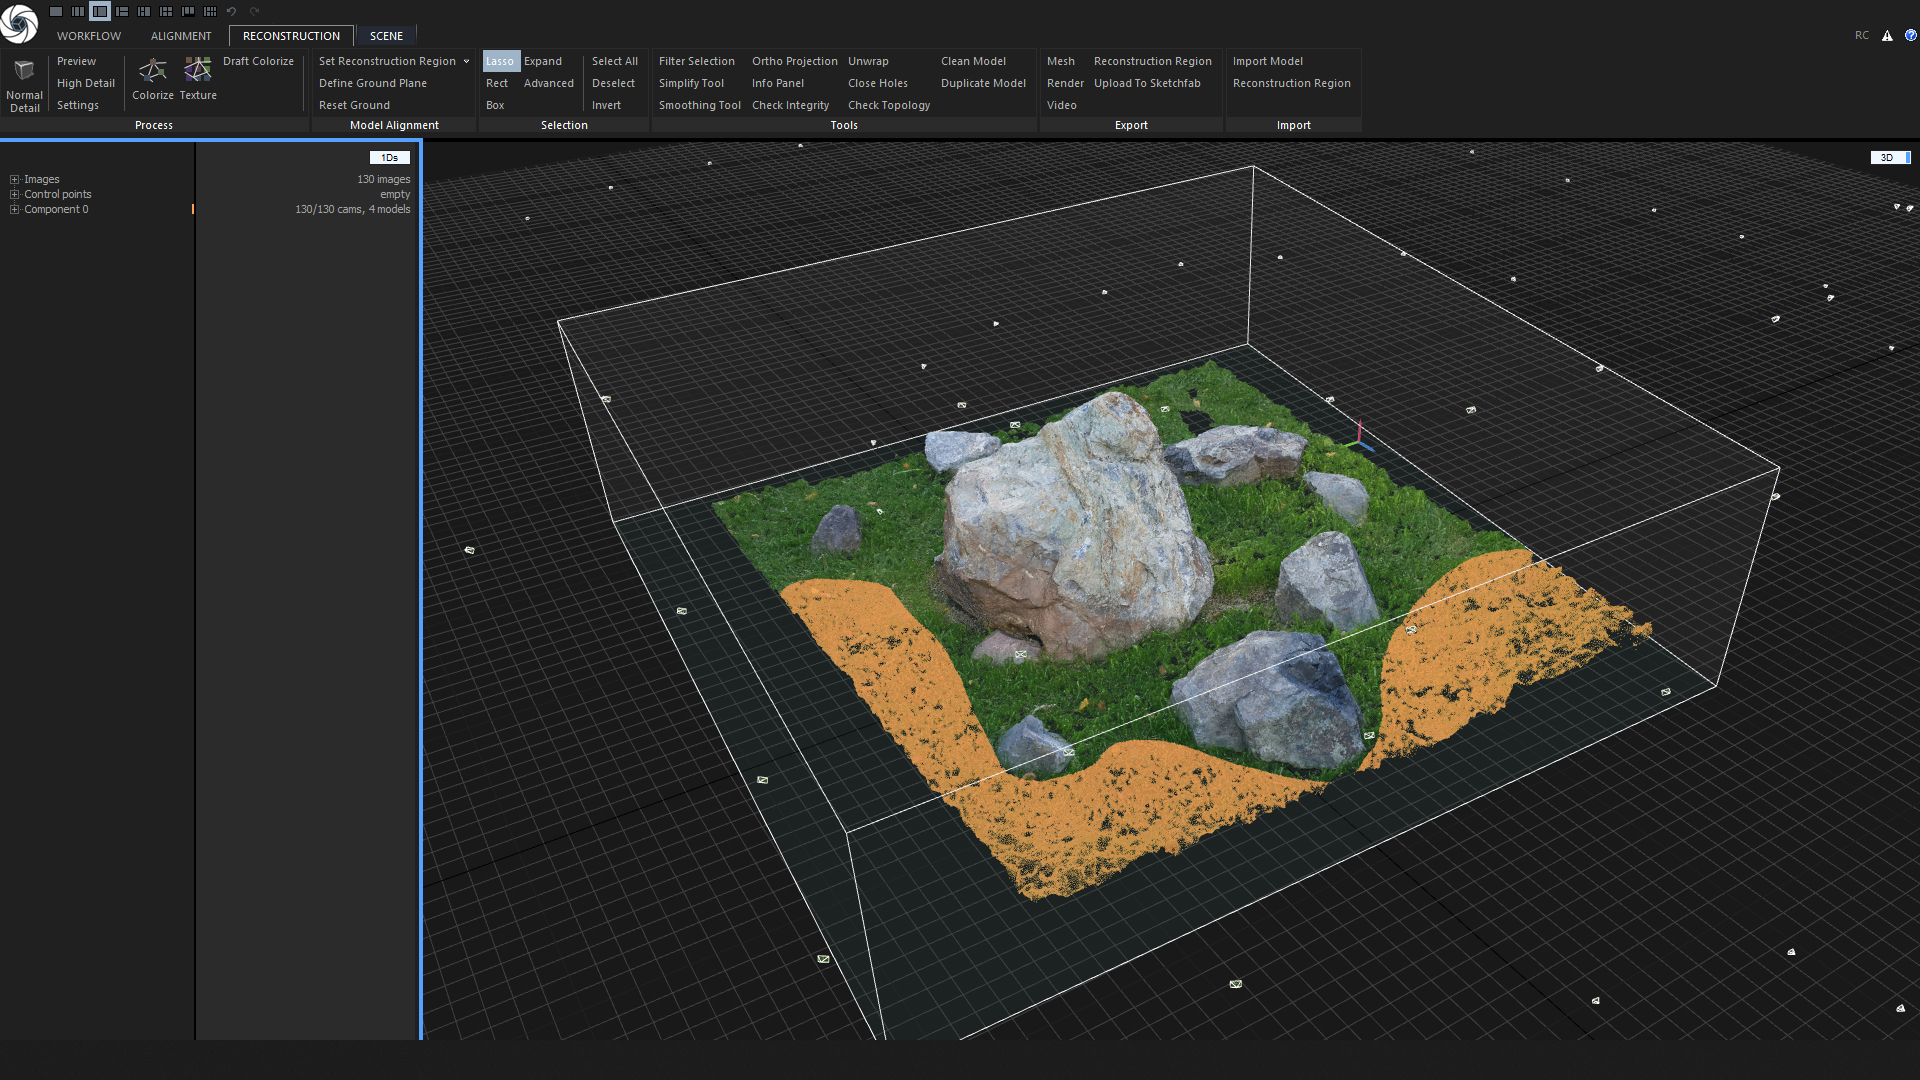
- Creation of 3D model.
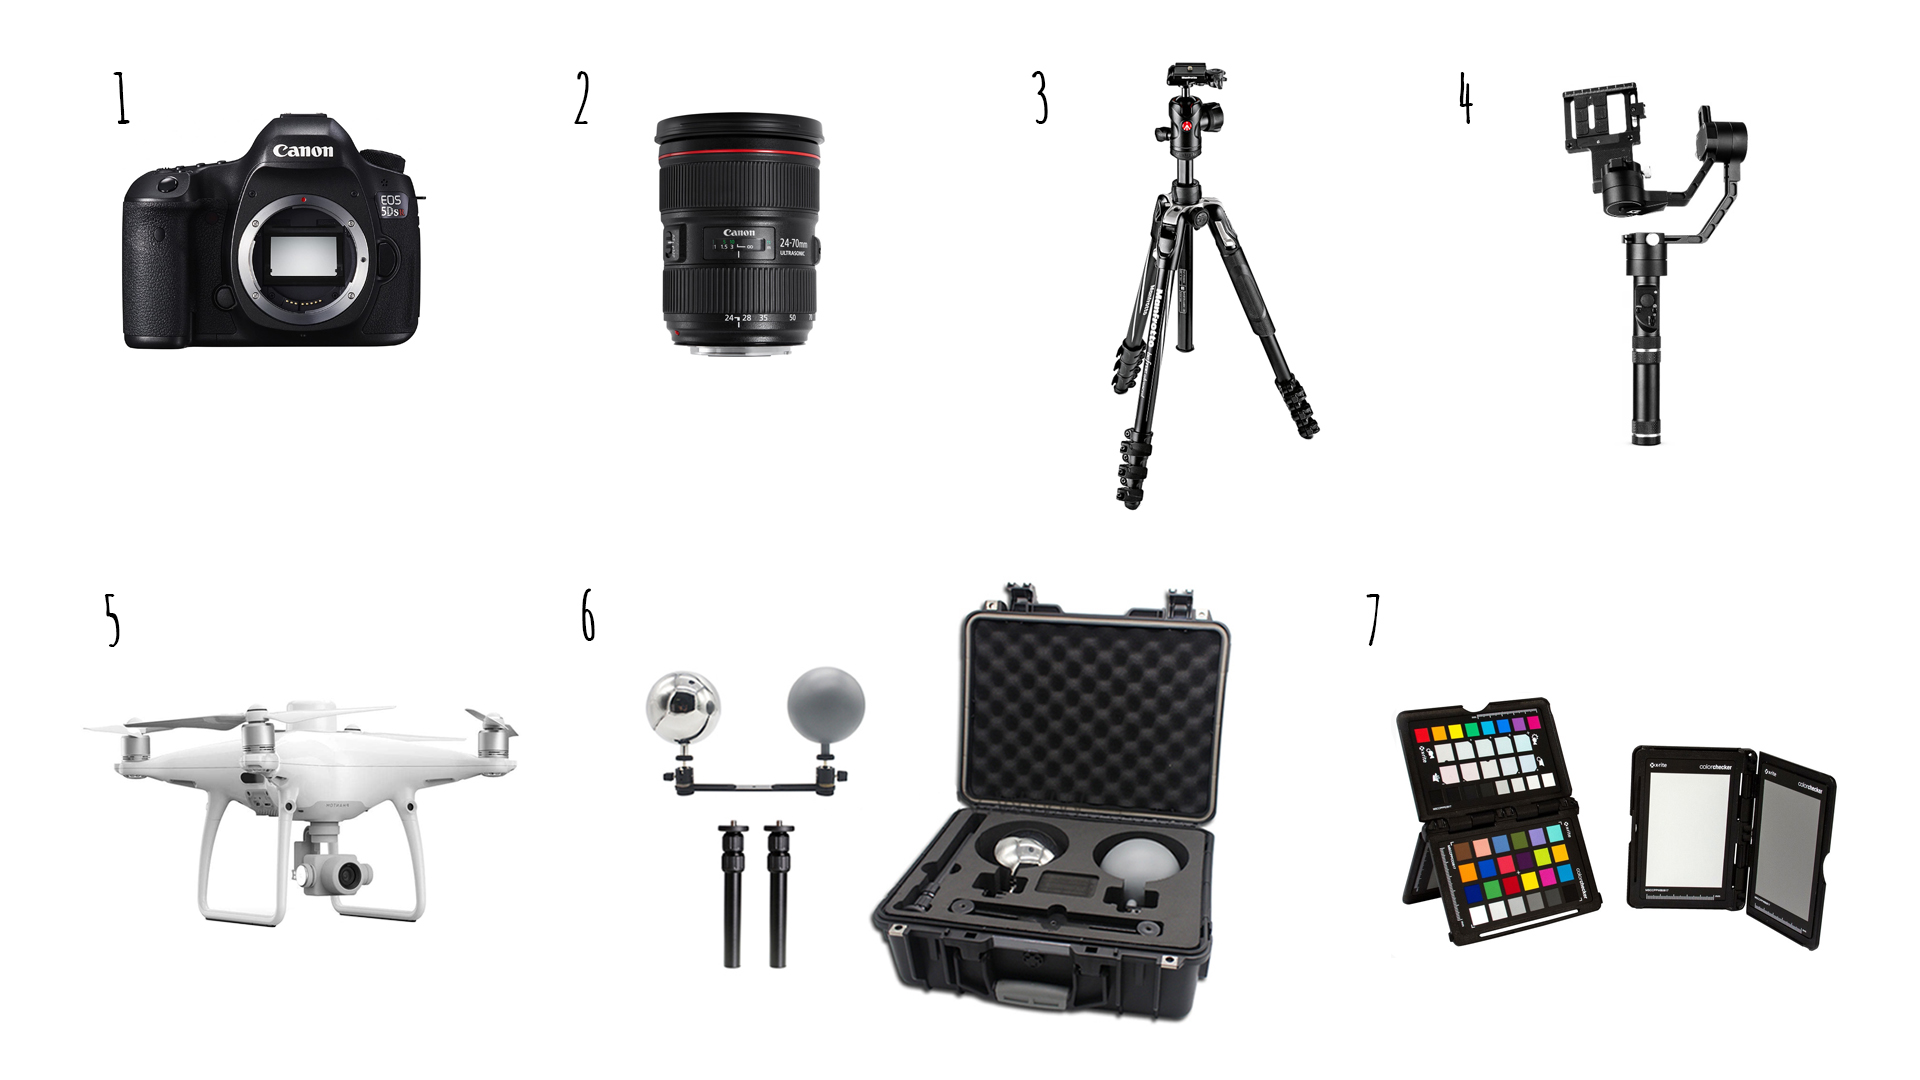
Hardware and software
It is general practice by photogrammetry in the field to use a camera and lens only. Tripods, stabilizers, drones, HDRI photography equipment, a color scale and a gray card can be additionally used.